Search Tutorial 1 - Installing Solr Using the Bitnami Apache Solr Stack
- Home /
- Tutorials /
- Search tutorials /
- Search Tutorial 1 - Installing Solr Using the Bitnami Apache Solr Stack
One of the simplest methods for getting Solr installed, especially in a development environment, is to use the Bitnami Apache Solr Stack . This installer handles installing Apache , Jetty and Solr and configuring it properly. No prior knowledge needed.
The installation process is not really all that different then a typical Windows installation, there are just a few things to be aware of as you perform this installation. To start, double-click on the installer (bitnami-solr-x.x.x-x-windows-installer.exe for the purposes of this article). The first screen you are greeted with looks like this:
From here, click Next. The default installation path should be fine for most, change it if you must but this article will assume a default path of C:\Bitnami\solr-x.x.x-x: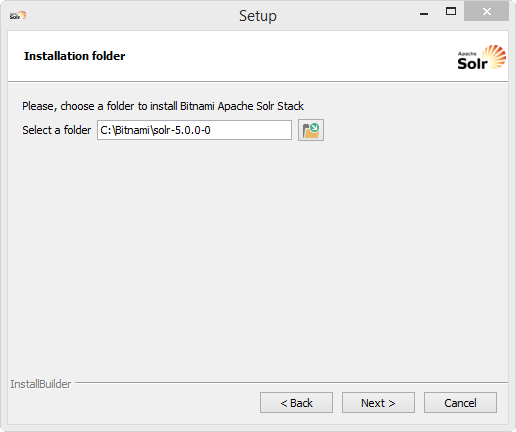
Clicking Next brings you to a screen allowing you to define the Bitnami Apache Solr admin user login and password(this step depends on Bitnami Solr package. Probably you will not have it).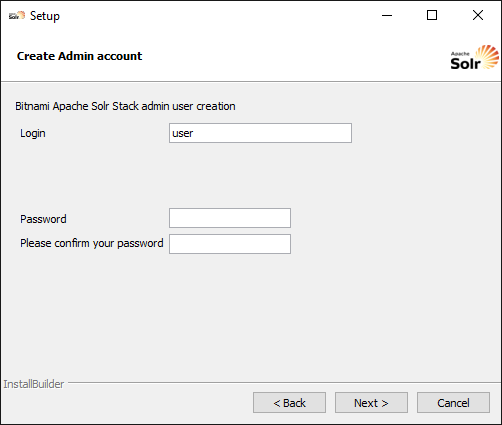
Clicking Next probably brings you to a screen allowing you to define the port that Apache should run on(This step depends on Bitnami Solr package. Probably you will not have it). On this screen, if you are setting up Solr for development use and installing locally it is important that you change the default port to something other then 80 (in use by IIS), for this article we used port 8080: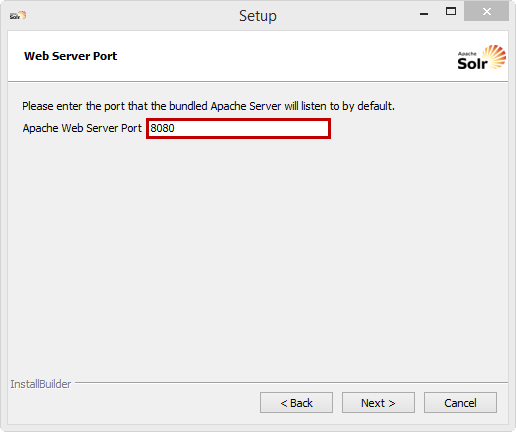
Click Next, a screen shows offering up details about Bitnami Cloud Hosting. Feel free to leave that checked but this article will assume it was unchecked: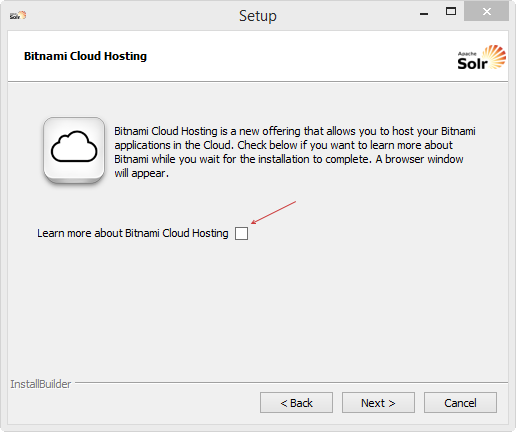
After clicking Next, Windows Firewall will alert you that it has blocked some features of this installation. Ensure that the check boxes for Domain networks, such as a workplace network and Private networks, such as my home or work network are checked. Complete this step by clicking the Allow access button.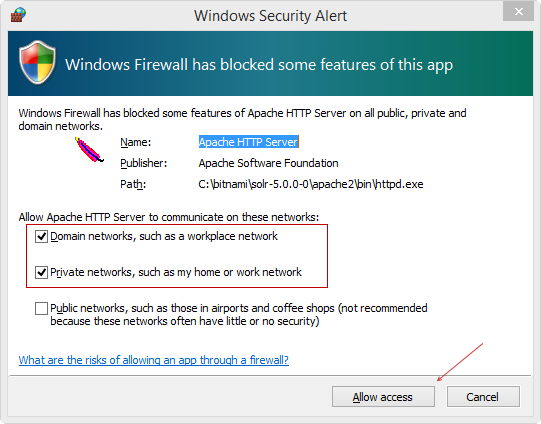
Once the Bitnami installation has completed keep the Launch Bitnami Apache Solr Stacak now? check box checked and click Finish.
Your browser of choice should open with a page that looks like this: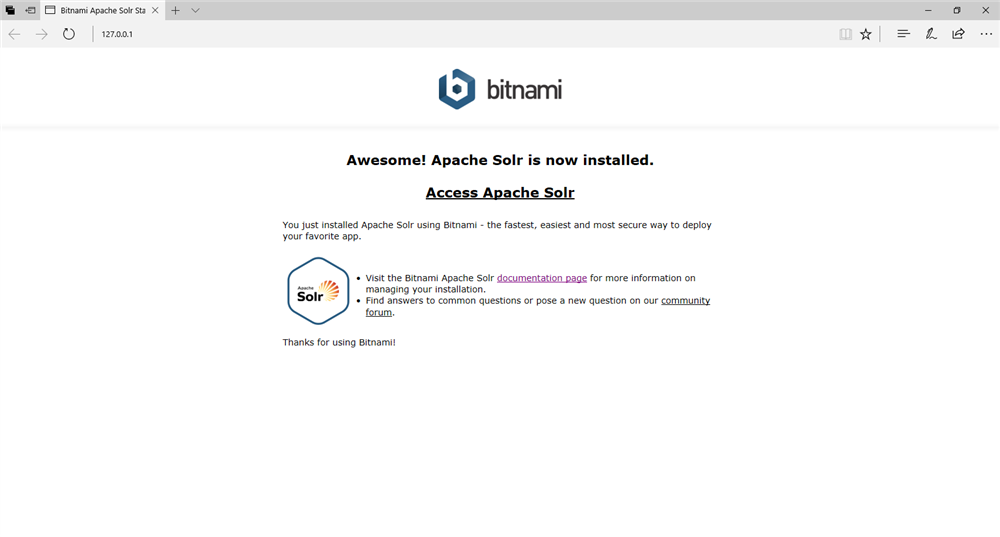
Clicking on on the Access Bitnami Apache Solr Stack link which will launch credential window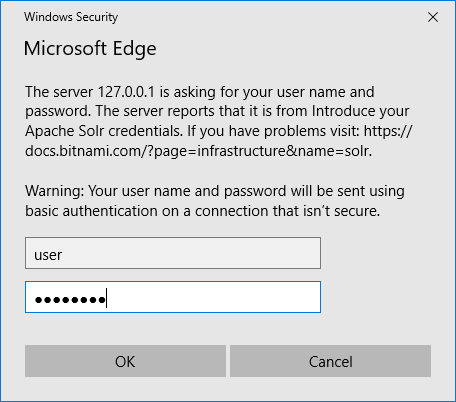
Please enter credentials and click on the OK Button which will launch the Solr dashboard and should look similar to this: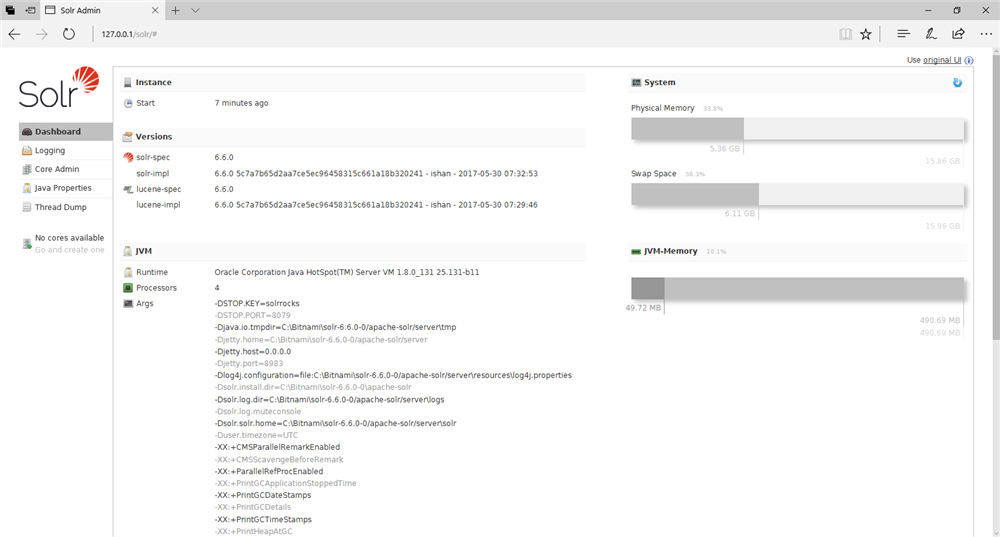
That is it for this article, you now have Solr installed and waiting to be configured for use with nopCommerce Search plugin(Dev-Partner.biz).