Tutorial 2 - Creating a simple content public page
- Home /
- Tutorials /
- CMS tutorials /
- Tutorial 2 - Creating a simple content public page
In this tutorial we will create a simple public page with a title and rich text field.
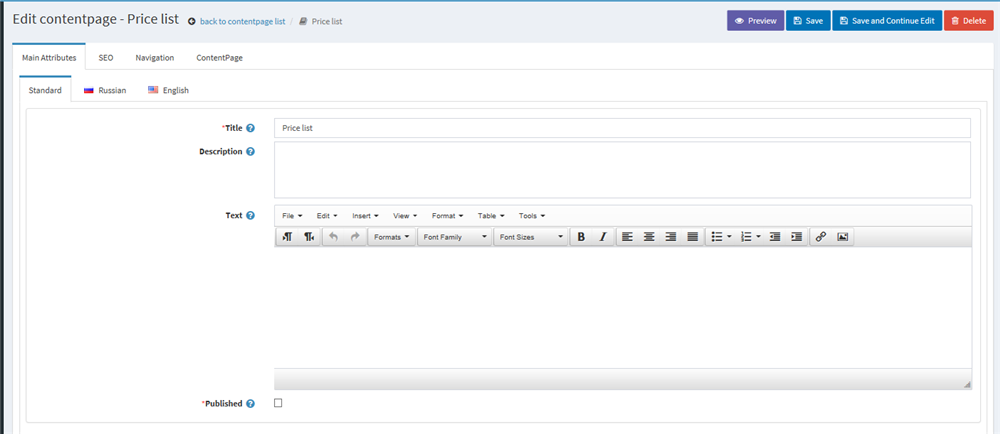
The content page item only contains three fields:
First we need to create the model that will represent our content page item:
 using DevPartner.Nop.Plugin.Core.Attributes;
 using DevPartner.Nop.Plugin.Core.Models.CMS;
 using DevPartner.Nop.Plugin.Core.Models;

 namespace DevPartner.Nop.Plugin.Misc.StartedKit.Models
 {
     [SystemName("ContentPage")]
     [PublicPage("ContentPage", isSEO: true)]
     [AdminMenu("DevCommerce/Content")]
     [Parent("Content Management")]
     [Icon("fa-book")]
     [Localazible]
     [IsSearchable]
     public class ContentPageModel : DPPublicNavigationPageModel, IDPModel
     {
         [DPParent]
         public ContentPageModel Parent { get; set; }
     }
 }
@using Nop.Web.Framework.UI;
 @using DevPartner.Nop.Plugin.Core.Models.CMS;

 @model  DPPublicNavigationPageModel
 @{
     Layout = "~/Views/Shared/_ColumnsTwo.cshtml";

     Html.AddTitleParts((string)Model.Name);
 }

 @{
     if (!string.IsNullOrEmpty((string)Model.MetaTitle))
     {
         Html.AddHeadCustomParts("<meta name=\"title\" content=\"" + (string)Model.MetaTitle + "\" />");
     }
     else
     {
         Html.AddHeadCustomParts("<meta name=\"title\" content=\"" + (string)Model.Name + "\" />");
     }
     Html.AppendMetaKeywordParts((string)Model.MetaKeywords);
     Html.AppendMetaDescriptionParts((string)Model.MetaDescription);
     Html.AddHeadCustomParts("<meta name=\"date\" content=\"" + DateTime.Now.ToString(" yyyy-MM-dd") + "\" scheme=\"YYYY-MM-DD\"  />");

 }

 @section Breadcrumb
 {
     @Html.Action("Breadcrumb", "DevPartnerCommon", new { entityId = Model.Id, includeFolderEntities = false })
 }


 @section left
 {
     @Html.Widget("left_side_column_before")
     @Html.Action("ChildEntitiesNavigation", "DPPublicPage", new { entityId = Model.Id })
     @Html.Widget("left_side_column_after_category_navigation")
     @Html.Action("ManufacturerNavigation", "Catalog")
     @Html.Action("VendorNavigation", "Catalog")
     @Html.Action("RecentlyViewedProductsBlock", "Product", new { productThumbPictureSize = 64 })
     @Html.Action("PopularProductTags", "Catalog")
     @Html.Action("PollBlock", "Poll", new { systemKeyword = "LeftColumnPoll" })
     @Html.Widget("left_side_column_after")
 }

 <div class="content-page">
     <div class="content-wrapper">

         <div class="content-head">
             <div class="content-title">
                 <h1>@Model.Name</h1>
             </div>
         </div>
         <div class="text-body">
             @Html.Raw(Model.Text as string)
         </div>
     </div>
 </div>
The last step will be connecting our model with our public view. We can do it by replacing Install method in our plug-in file with the following snipet
         public override void Install()
         {
             var pageContentPage = new PublicPageModel { Name = "ContentPage", Path= "DP_ContentPage" };
             _entityModelService.SaveEntity(pageContentPage, EntityTypes.PublicPage.Id);


             //save new cms entities
             _installBaseItemsService.SaveCmsEntitiesAndModels();

             base.Install();
         }